In the previous post we created an S3-backed Nextcloud server on Amazon Web Services.
This post will explain how backup such your server and how to restore those backups. In fact, we will be making a full-fledged clone of your existing Nextcloud server. Such a clone is useful as a backup, but you can also use it to test risky configuration changes before applying them to your real server.
In a nutshell, the cloning/backup process works like this:
- Take a snapshot of the virtual machine (including Ubuntu, Nextcloud and all the configuration data)
- Copy the data in S3 to another bucket
- Create a new virtual server based on the snapshot from step 1
- Point the new virtual server to the new S3 bucket from step 2
- And voilà: you now a have a clone of your original Nextcloud server
Let’s see how this works in detail.
Step 1: Take a snapshot
Before we can take the snapshot, we need to shutdown the server properly to avoid inconsistencies.
- Log in to your server via SSH
- Put Nextcloud into maintenance mode with the following command; this will prevent users from making any further changes to Nextcloud’s database
sudo nextcloud.occ maintenance:mode --on
- Stop Nextcloud entirely with the following command:
sudo snap stop nextcloud
- If the command times out, simply execute it again until you get “stopped” as a response.
- Go into the Lightsail web console and stop the entire server; make sure to wait for the server to reach the status “Stopped”.

- Now we are ready to take the snapshot: In the Lightsail web console, go to “Manage -> Snapshots” for your server
- Give the snapshot a name of your choice, then click “Create snapshot”.


While we are waiting for the snapshot to be taken, let’s do the backup of your S3 data.
Step 2: Backup S3 Data
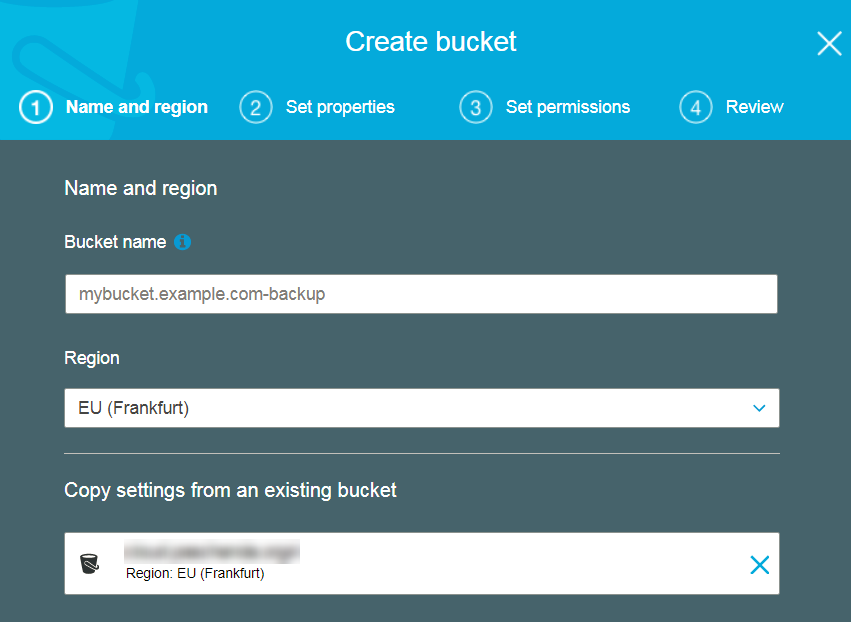
- In the Amazon S3 web console, create a new bucket to hold the backup of your data; make sure that the new bucket is in the same region as your original bucket (otherwise you have to pay inter-region transfer cost).
Note that you don’t have to go through all the steps of the bucket creation wizard; after entering your bucket name and choosing the region, you can simply click the Create-button in the first screen.
- Now we have to copy the data from your existing S3 bucket to the new bucket. To do this, we will use the AWS Command Line Interface (AWS CLI). If you have not yet installed/configured it on your machine, follow this guide from Amazon.
- Assuming that you have the AWS CLI installed and configured, simply type:
aws s3 sync s3://oldbucket s3://newbucket
Of course you need to replace oldbucket and newbucket with the respective bucket names.
- Once the command completes, you have an exact copy of all your Nextcloud data in newbucket.
Step 3: Create a New Server from the Snapshot
- Go back to the AWS Lightsail web console and make sure that the snapshot of your server is now completed.
- Open the menu next to the snapshot and click “Create instance”, to create a new server based on the snapshot.

- Once your new server is up and running, go to “Manage -> Networking” to assign it a static IP address and open the HTTPS port on the firewall.
Note down the IP address, we will need it soon.
Step 4: Point the New Server to the New S3 Bucket
- Log in to your new server via SSH
- Open /var/snap/nextcloud/current/nextcloud/config/config.php for editing:
sudo nano /var/snap/nextcloud/current/nextcloud/config/config.php
- Look for the section named trusted_domains and change the IP address to the static IP address that was assigned to the new server.
- In the section named objectstore, change the S3 bucket name to the bucket that holds the copy of your S3 data.
- Save the config.php and restart Nextcloud with:
sudo snap restart nextcloud
- Visit you new Nextcloud server in your browser, using the static IP address; you should see the login dialog of Nextcloud
- Verify that you can login and as a last step, disable the maintenance mode:
sudo nextcloud.occ maintenance:mode --off
- Great job! You now have a fully working clone of your original Nextcloud server 🙂
- … speaking of which, we should probably start your original server again, so start it again via the AWS Lightsail web console, then log into it via SSH and disable the maintenance mode.
Considerations
Having a fully working clone of our Nextcloud server available is great, but in terms of convenience and cost, it still leaves some things to be desired:
- The backup is a manual process and I am a lazy person. So backups probably won’t occur as frequent as they should. To remedy this, the backup should be automated. This is very much possible, but it requires some effort.
- With this backup strategy, we have doubled our storage costs, since we have just cloned all S3 data to a second bucket. A more cost-effective strategy would be to store the backup in AWS Glacier, which storage cost is just $0.0045 per GB/month. This is just 20% of S3’s $0.0245 per GB/month.
However, the cost structure of Glacier also complicates matters a bit: in Glacier, you also pay a fee per retrieval request. Retrieving a tens of thousands of small files is more expensive than retrieving one large file. It is also much more cumbersome. This means that we should compress your S3 bucket into one large zip file before storing it in Glacier. For this, we have to download the files from S3 and zip them locally. This may require a large harddisk if we have a lot of data in S3.
We also have to deal with Glacier’s somewhat special usability: in Glacier, retrieving a file takes multiple hours and hence goes through a couple of indirections.
All of these things can be dealt with, but they require some effort – especially if the solution is to be automated.
There is still room for improvement, but for now I am happy to have a working backup.